2009: A Year in Photos!
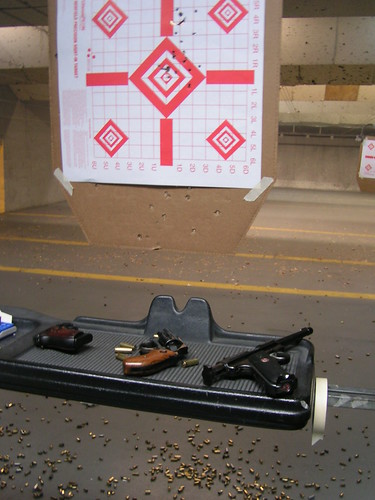 January 2009: I started shooting handguns. I still had a part-time job at Laurey's and I was going to school at AB Tech.
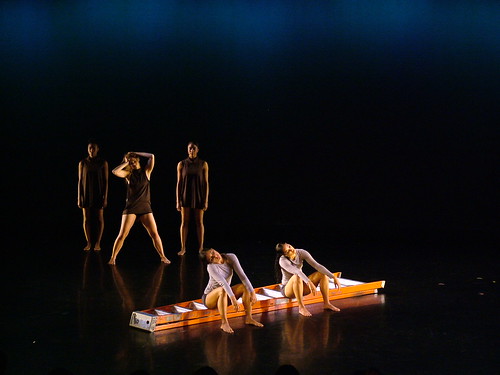 February 2009: I visited my sister in Miami to see her BFA dance performance. I got fired from Laurey's.
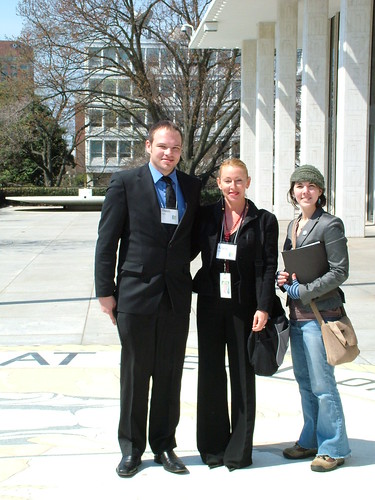 March 2009: Went lobbying in Raleigh for LGBTIQ rights for EqualityNC
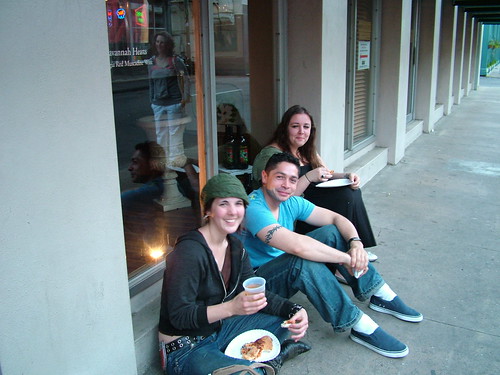 April 2009: I got my second tattoo, Jenny and I took a weekend trip to Savannah, GA, I participated in the Charlotte protest march against Cliffside, made from of Teabaggers in Asheville, and Magpie and I drove to Boone so he could interview Starhawk for his upcoming book. Also filmed the notorious "Asheville Police Brutality" video in downtown Asheville.
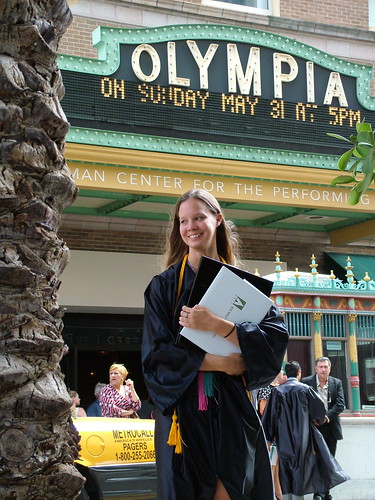
 May 2009: I went to Miami (again!) for my sister's graduation, and I got my first black eye in a May Day mosh pit there. I rode trains and hitchhiked for the first time with Justin and his dog, Cheech. Got my third tattoo. Dropped out of school (again!) Got my first misdemeanor charge for photographing a police officer in downtown Asheville.
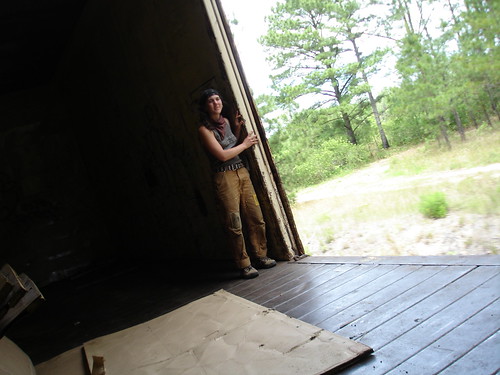
 June 2009: Took on a 6,000 mile hitchhiking trip from North Carolina to California (and back again). Saw the Pacific Ocean for the first time in my life.
 July 2009: I bought a school bus. Went to a Black Moth Super Rainbow show and gave myself a nasty scar and some permanent nerve damage on my finger from a broken glass. Sold my Honda del Sol.
 August 2009: Cut my hair for Locks of Love. Hitchhiked to Virginia with Jeff for the last visit with my grandmother. Had terrible luck. Got put in the back of a cop car. Rode on my first IM freight train out of Roanoke.
 September 2009: Went to the Globe Forest camp-out. Had my 25th birthday in Asheville. Cut my hair again. Had to pay almost $300 for the misdemeanor charge back in May, but avoided probation.
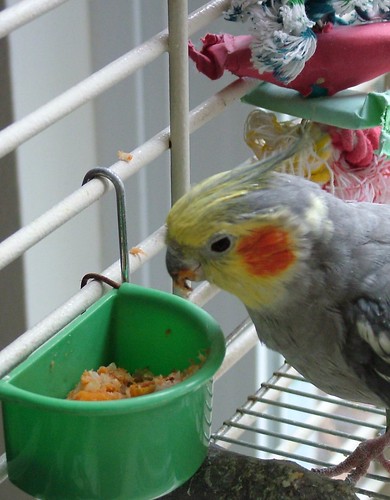
 October 2009: Went to Florida (again!!) to see my Grandma for the very last time. Visited Graham and my birds in Sebring. Lost my wallet, camera, and keys on Halloween because I got too drunk. Got it all back later.
 November 2009: Didn't do too much this month. Hung out at the HBH with someone I was unofficially seeing and watched other people get stoned.
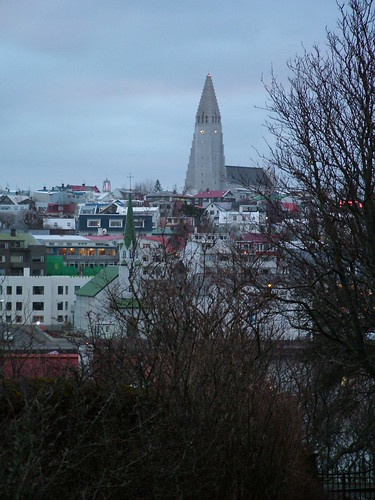 December 2009: Iceland.
So overall, I did a TON of stuff for the first time. Basically had no work all year. No serious relationships. Lots of friends came and went. I had a few breakdowns. Changed a lot. Got a grip. 2010 is already much better. :-)