Saturday, March 21, 2009

Vermicomposting

This might be the easiest sustainability project I've ever completed, unless you count passive composting, which is a little ridiculous to begin with. This is another one of those things that I thought was a lot more involved until I read otherwise in a book called Toolbox for Sustainable City Living, which is available at Firestorm Cafe and Books in downtown Asheville.
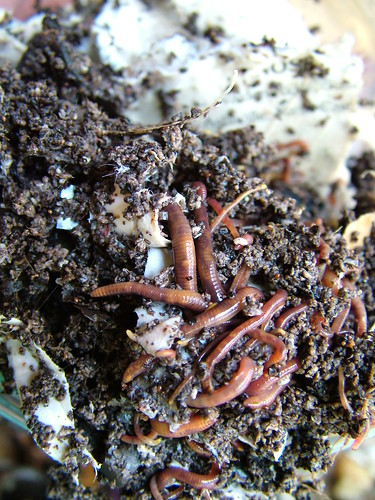
Basically, all you need to do is acquire some red wrigglers (Eisenia fetida) and about ten minutes. According to Toolbox for Sustainable City Living, these worms are special because they do really well in compost as opposed to soil, and they secrete a substance that kills pathogenic bacteria. So when a nasty bacteria touches it's skin, the bacteria dies.
I posted a wanted listing on Freecycle and the next day a sweet woman had a container of worms waiting on her porch for me. Someone had given some to her, and they had reproduced. "It feels good to pay it forward!" she chirped as I was leaving. (Thanks gift economics!)

So here's how you do this thing:

Get a container. It can be made of plastic or wood. I had these left over from when I started passively composting last year and they got too small. I'm sure something suitable could be easily dumpstered.
Drill some ventilation holes. However you see fit. The book reccomended a couple of large holes with screens over them. I used a drill bit and made a bunch of them then duct-taped some cheesecloth over them.
Layer the bottom with some bedding. This can be shredded newspaper, cardboard, dry leaves, or something similar. (This will have to be replaced at some point when the worms eventually eat it.)
Add your compost and worms. Voila!

Sunday, March 15, 2009

Surprise Spring Cupcakes

I had forgotten how much I miss cooking vegan. I fell out of that circle of friends a while back, but recently I've met a few people with very specialized dietary restrictions. When I worked in a restaurant, it always annoyed me that everyone had some special allergy and had to ask a million questions before they could order. But when I can cook something because I want to, and not because have to (i.e.- DEATH ALLERGY), it's really enjoyable.
So, today my good friend Jenny and I are hosting a Spring potluck and I decided to make some cupcakes. But not just any cupcakes. Vegan, sugar-free cupcakes.

Here's how I made them:

For cupcakes:
2/3 C. soymilk
1/2 tsp. apple cider vinegar
1/3 C. vegetable oil
1&1/2 tsp. vanilla extract
1/2 tsp. almond extract
1&1/3 C. all-purpose flour
3/4 tsp. baking powder
1/2 tsp. baking soda
1/4 tsp. salt
2/3 C. agave nectar/syrup

For icing/mousse:
1 large avocado
1 tbsp. (or more depending on taste, color, texture) cocoa powder
agave nectar to taste

Heat oven to 325F.
Mix soymilk and vinegar and let sit for a few minutes while it curdles.
Beat in wet ingredients.
Sift in dry ingredients.
Mix until smooth.
Fill cupcake liners 3/4 full of batter.
Bake 20 min. or until a toothpick comes out clean.
Let them cool for at least 1 hour.

For the Icing/Mousse:
use an electric mixer to beat avocado, cocoa, and agave nectar smooth.
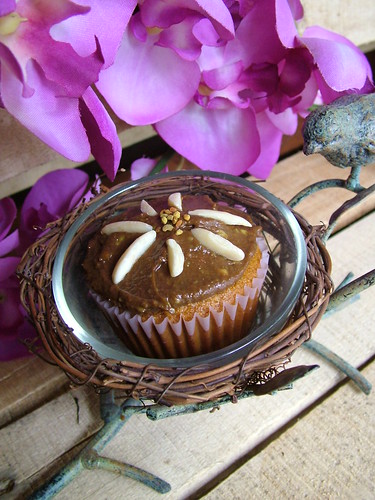
As you can see in the photo, some little pieces of avocado wouldn't beat smooth, so it had some green flecks. Depending on your equipment, this might not happen.

To decorate the cupcakes, I put a pinch of bee pollen (not necessarily vegan, I know) in the center and made flower petals with almond slivers. Cute! (And yes, they taste good!!)

Wednesday, March 11, 2009

Bread Making

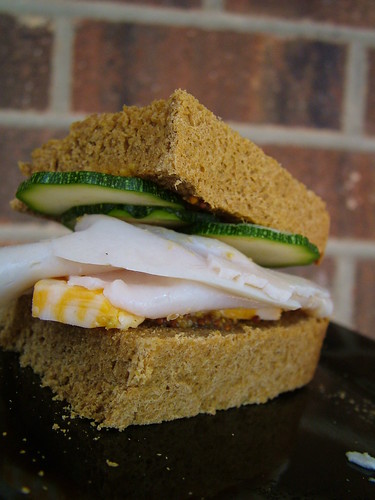
I've been experimenting with breadmaking lately. So when I found this recipe I was pretty excited.
Making bread always seemed intimidating and difficult. It was always easier to go to the store and buy a loaf of something with a million ingredients wrapped in a plastic bag. I don't eat much bread anyway, so the loaf would sit around for a while (in the fridge), all of the preservatives giving it a half-life about on par with double-plastic wrap hugging it.
So I stopped buying bread and didn't really miss it. I made a couple of white loaves and froze one, so those lasted me quite a while. Now that I've got more time on my hands, I have more time to start experimenting with different kinds of bread.
My first couple of attempts yielded delicious, but dense loaves, and my baguette experiment unfortunately ended up being way too salty due to a gram/teaspoon misconversion (whoops). But despite these supposed setbacks, I find myself surprised that I still enjoy the breadmaking process. It's magical, and there is something really cathartic about kneading dough until my arms are tired (and then some). I don't recall ever being taught how to knead dough, but it seems as though that knowledge has worked its way into the collective consciousness of humankind. The movements are fluid and natural. After a while of having your hands groping at the supple, skin-like mass, and giving it space to grow in privacy...I tend to get attached to it. I almost don't care how it turns out (although I'm slowly learning that it's very hard to mess up when it comes to making bread). I'm making some obvious allusions to raising children, which is what breadmaking is- a mini lession in patience, nurturing, and care, ending in the final result which is delightful despite the independent nature of each loaf.
It makes me feel more human than almost anything else to be in my home and spend a couple of hours breadmaking. Bread is something that is pretty much universally loved. I don't know anyone without dietary restrictions that would refuse a slice hot-out-of-the-oven.
I encourage you to try this recipe, and many others. Breadmaking is becoming a lost art, as are most DIY skills. But bread is basic. It represents human nourishment, community, and the home. And it's not as hard as you think!

Friday, July 25, 2008

Fried Plantains

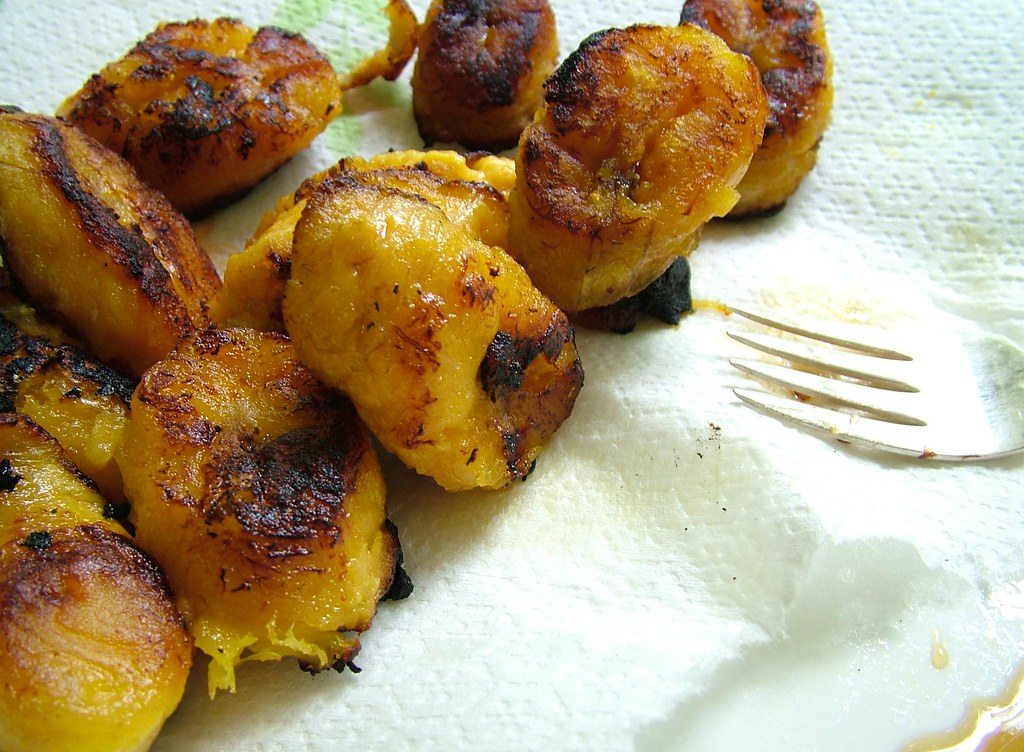
Fried plantains are an obligation at some Cuban restaurants. At least for me. They've always been a favorite, but for some reason I never attempted to make them until recently. They are very easy to make, and (to my delight) taste exactly as I remember them.

You need:
Plantain (the skin should be black. Not brown, not spotty...but black)
Vegetable or olive oil (just enough to cover the bottom of the skillet)

All you have to do is peel the plantain and slice it on a diagonal into wedges about an inch thick. Heat oil in a skillet until it's hot enough that water goes "PISHHHH!" when you flick it in there.
Lay your plantain slices in the oil and fry them until each side is dark brown. Then flip them and do the same. Reduce heat and let them caramelize for a minute or two.

Ta-Da! So easy! (Although I always set off my smoke detector any time I fry *anything*)


You can serve them with a little bit of honey if you want, but they are plenty sweet.

Two things I love about fried plantains:
1. You can use waaaay ripe plantains. Mine had been slightly neglected and the skin was starting to mold (the insides were OK) so the insides were like baby food...and they still came out perfect after frying.
2. Even if you burn a side to a cinder, they still taste good!

Wednesday, June 18, 2008

Earth-Friendly Dish Detergent

After reading a fabulous book called "The World Without Us" by Alan Weisman, I am newly inspired to do more to keep polymers out of my home (where they won't make their way to the oceans- where plastic is now the most common oceanic surface feature).
Here is something simple that everyone can feel good about. Make your own dishwashing detergent! Granted, using a dishwasher isn't the most Earth-friendly thing you can do. It uses a lot of water and energy. However, the way I cook and do dishes, I think sometimes it is more efficient to just run the darn thing (and it's EnergyStar rated, so that's good!)
Most dishwashing detergents you buy in the store not only come in a plastic bottle, but they contain unnecessary and harmful chemicals, like phosphates.
All you really need is a mild abrasive, and an antimicrobial. Baking soda happens to be both.
Here's what you do:


One part Baking Soda
One part Borax


(You can also use:
One part Sodium Carbonate
One part Borax. )

Just mix them up in a recycled container and use two tablespoons per load. This is not only better for the planet (both ingredients are water-soluble and harmless) but it's also extremely cheap.
How awesome is that?!

Wednesday, June 4, 2008

Bananas and Basil

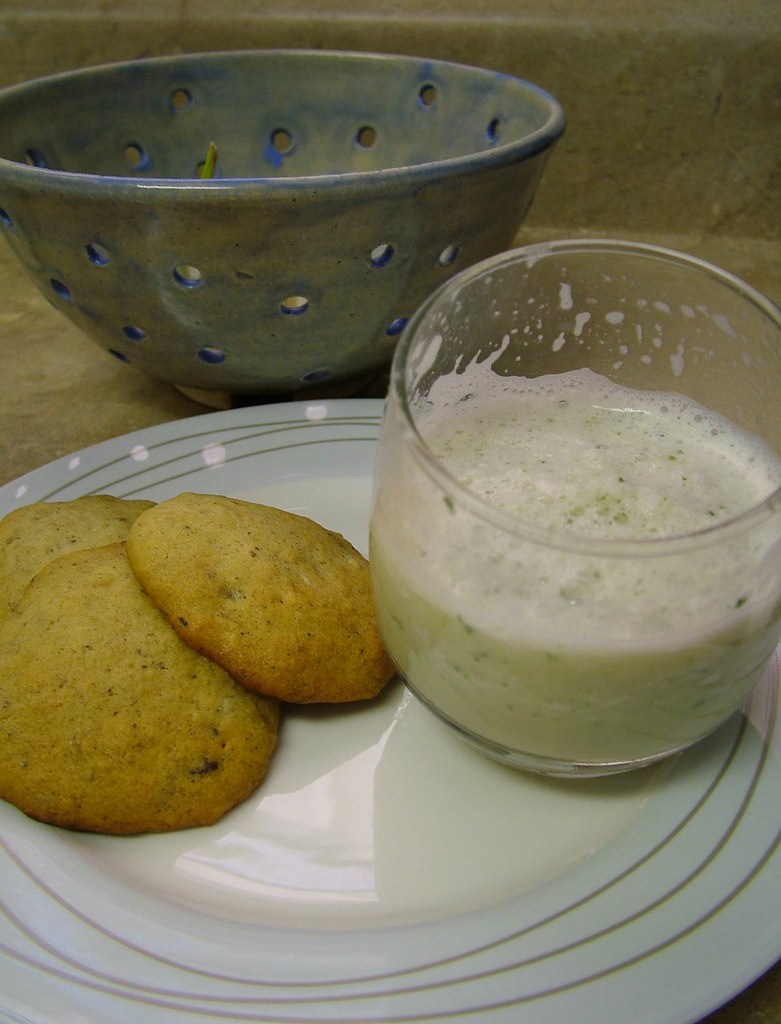
It's hot. I think it hit 90F today. It's way too hot to bake cookies. I could probably pour batter on the sidewalk and bake cookies. But. I baked cookies. When a banana cookie craving hits, it's hard to control my actions.
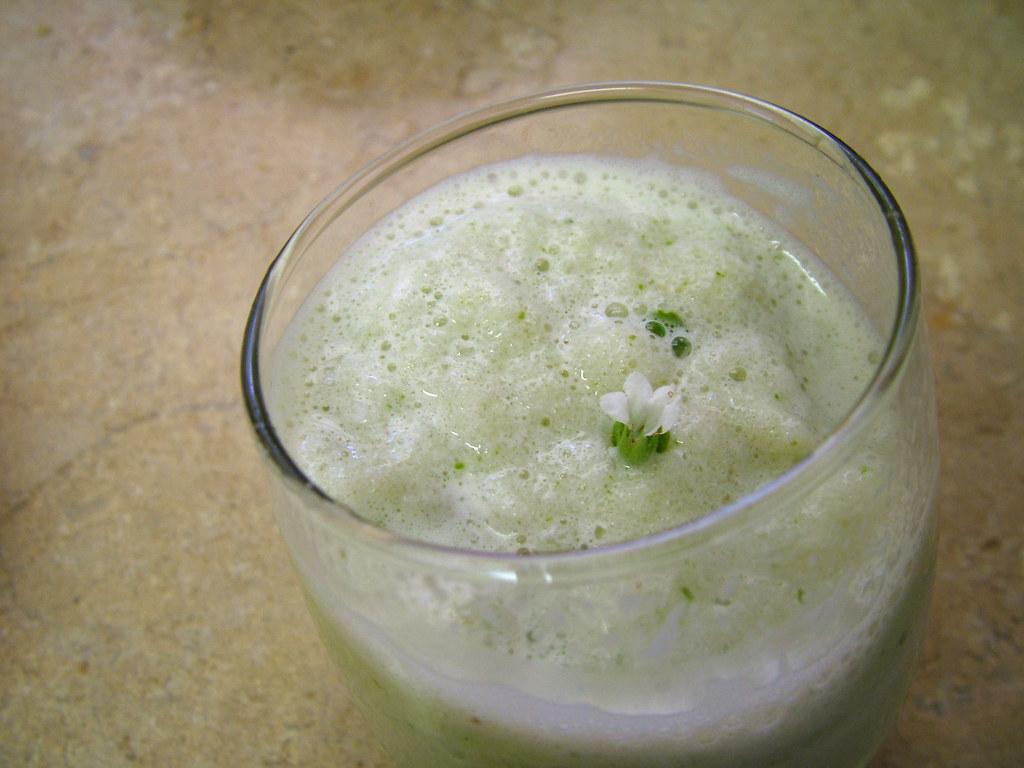
To even out the extra 350 degrees in my house, I whipped up a banana basil smoothie. I know. It sounds strange. I have this giant basil plant that I suspect has some kind of hypnotic control over me; forcing me to add basil to every recipe.

Here's what I did:

1. Half a really ripe banana (a whole would have been better, but I used it for making cookies)
2. Two basil leaves (big 'uns!)
3. A sprig of stevia (for sweetness...didn't really work. You could skip this part and just use sugar)
4. Soymilk (vanilla flavor would have been yummy)
5. Ice (I used enough ice and soymilk in combination to make it blend.)
Then I put it in the blender and pressed the button. That's how smoothies are made.

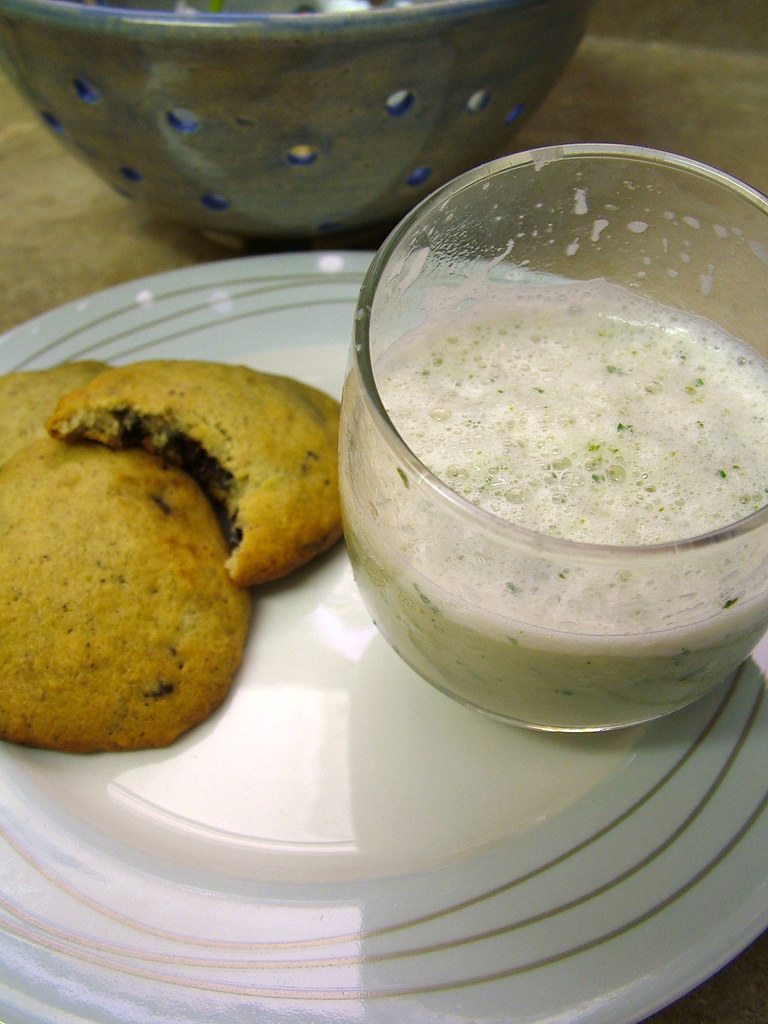
Sure, sure. Everyone knows how to make a smoothie. Who cares? How did it taste?! I actually thought this would be a basil nightmare. I thought I added too much basil and it would end up tasting like one of those weird basil-seed drinks at the Asian market with the slimy seeds in it. (I digress...) But... It really is very tasty! The flavor is very light, which really surprised me. It went well with the cookies too.

Speaking of cookies, they were really yummy too. I don't know why exactly banana cookies always come out like soft little pillows filled with angel wing down. But they do. Angels vacationing on a tropical island.
The recipe I used is a little more interesting than recipes I've used in the past. Here's what I did:

1/2 C. butter @ room temp (which in my case is about 400F *wipes sweat from brow*)
1 C. sugar
1 egg
1 C. mashed bananas (or 2.5 big guys)
1 tsp. baking soda
2 C. flour
pinch of salt
1/2 tsp ground cinnamon
1/2 tsp ground nutmeg
1/2 tsp ground cloves
2 bars of chocolate (dark and milk) crumbled up.

Heat oven to 350F. Cream the butter and sugar until fluffy. Add the egg and beat until also fluffy.

Mix mashed bananas and baking soda. Let sit for 2 minutes. (the recipe says that the baking soda will react with the acid in the bananas and make the cookies rise. Interesting...)

Mix banana mash into butter mixture. Mix together the flour, salt, and spices. Sift into the banana mixture and mix it until it's just combined.

Fold in the chocolate and drop dollops onto a baking sheet. Pull 'em out when they're golden-brown.

I can already tell I'm gonna eat too many of these.

Tuesday, May 20, 2008

Making Pasta

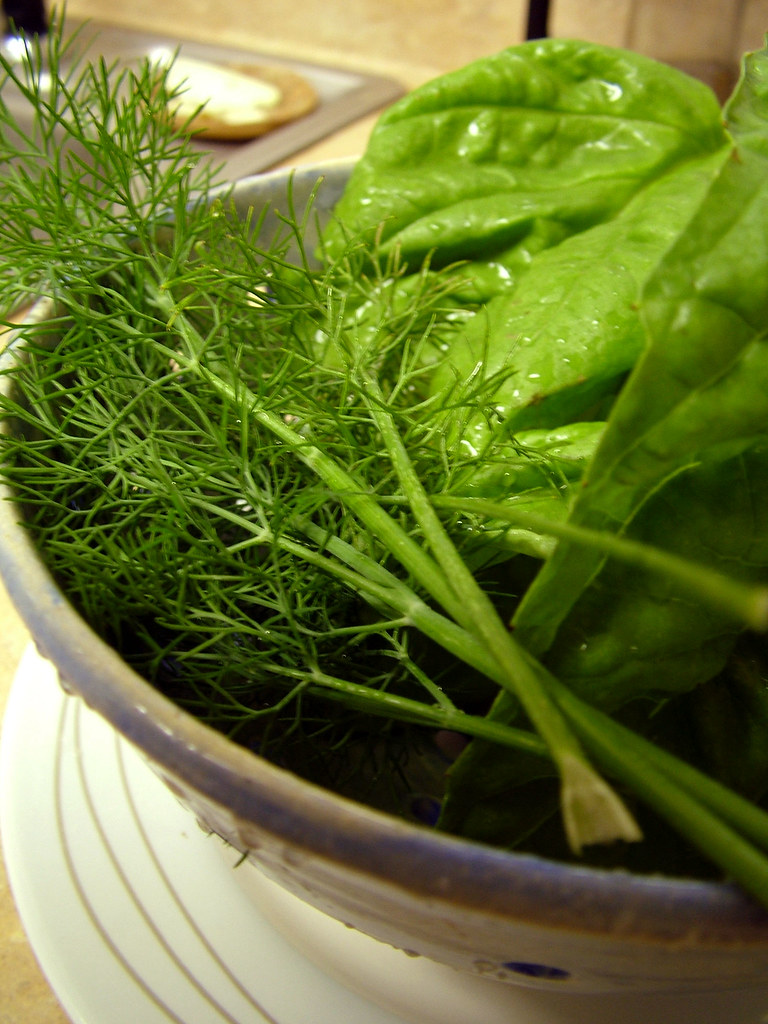
I went thrift shopping today and found a pasta maker at the ABCCM for $5. I've never made pasta before, so I thought 'what the heck' and bought it. I've seen a couple of interesting pasta flavors on TasteSpotting lately (like squid ink and stinging nettle) so I thought I'd try something more adventurous for my first try, rather than plain. However, I didn't have any squid ink lying around so I picked some of the massive leaves that grow on my Valentino basil plant and a few sprigs of dill. My little garden has been doing really well lately, and I'm sure it's glad to finally be put to some use.
I was really surprised at how simple homemade pasta is. It takes a lot of time and work, but the ingredients and process is relatively fool-proof. Here's what I used:

2 c. of all-purpose flour
2 c. semolina flour
pinch of salt
6 eggs
2 tbsp. olive oil
handful of basil and dill, each

First, mix the flours and salt together and make a pile on your nice, clean counter. Then make a hole in the center so the whole thing looks like a powdery volcano. Crack the eggs into the hole and add the olive oil.
I chopped the basil and dill and added it with the olive oil into a food processor and chopped it up really fine (kind of like making pesto). This is what I used instead of straight-up olive oil. (I also added a smidgen more to the volcano in addition to my herb paste.)
Then take a fork and whisk the eggs slowly into the flour that creates the well. At some point it gets thick and then I had to start mashing it up with my hands. It was so messy and so fun.
The part that isn't too much fun is kneading it for about 10 minutes. I don't think I did it for that long, but I made sure it was all smooth and supple before I stopped. Then I wrapped it up tightly in plastic wrap and let it rest for 30 minutes.

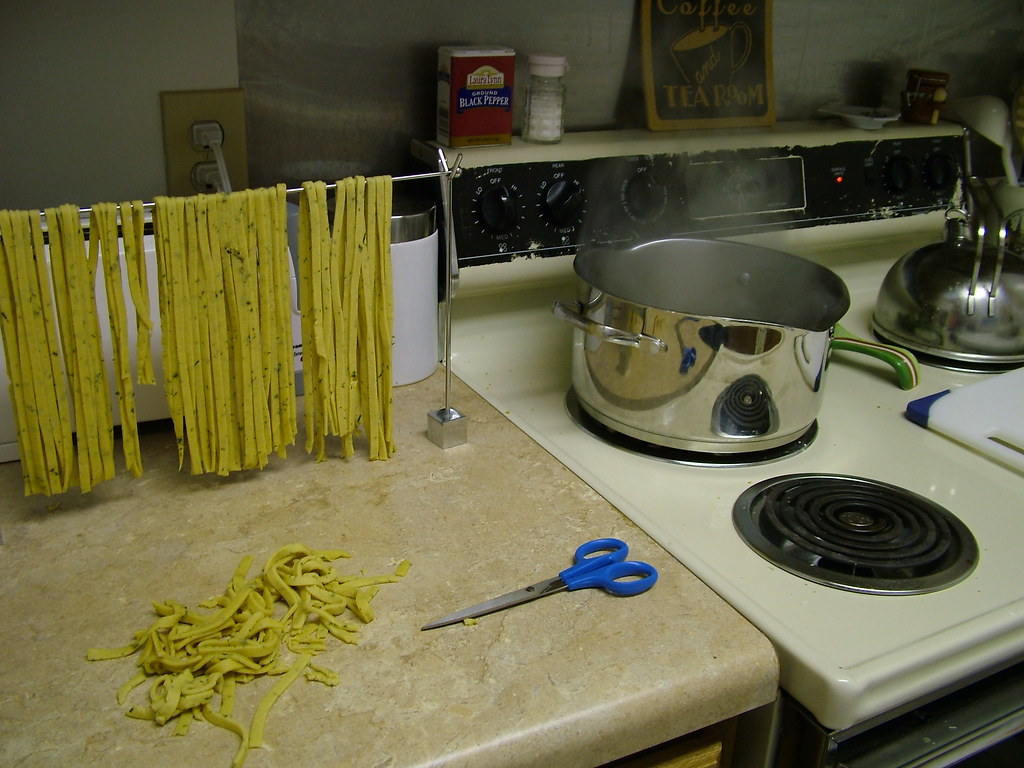
After the dough and I were done resting, I took a handful at a time and fed it through the pasta roller at the largest setting. Then it needs to be folded into the thirds and fed through again. The setting is lowered to a thinner setting for thinner pasta. It gets cut in the appropriate slot (one for wide noodles and one for thin noodles). I made the fettuccine on the third largest setting, and the spaghetti 'bird nests' on the fourth (which is pretty thin...and it goes all the way to 6 or something!). That way I got to play around with the entire machine to see how it all did.

Most of the pasta I hung over a conveniently shaped photo holder...but we'll call it a pasta drying rack in this instance. The spaghetti I twirled into nest shapes and put on a cloth placemat to dry.
The rest of the pasta (the scraps, that is...) I threw into a pot of boiling water with some salt. Freshly made pasta takes almost no time at all to be 'done'. It only took a minute for mine, but it's finished when it floats.
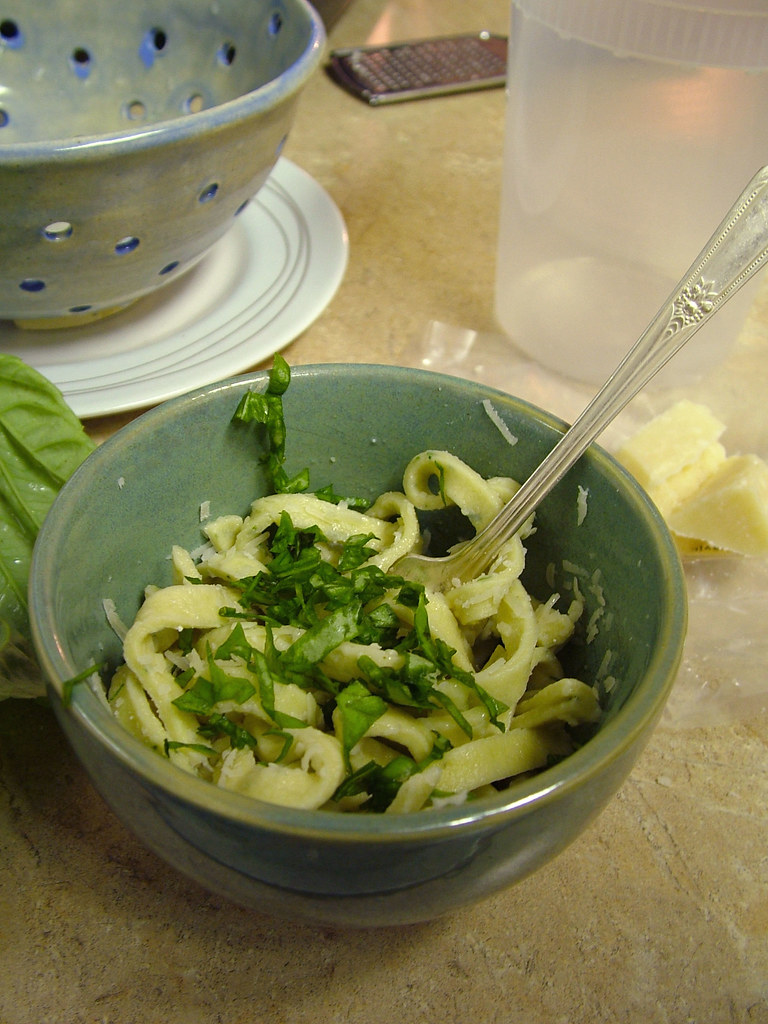
As you can see, the results were fantastic! I sprinkled a dash of olive oil on top, grated some of that really nice hard Parmesan cheese, and then topped it with my own mix of dried herbs, and some more of that wonderful Valentino basil.
YUM!